
Hello! Welcome to part 2 of my needlepoint instruction. If you haven’t read part 1 yet, I would suggest going back and reading about the materials that you will need to begin. In this post I will be sharing how to begin stitching, a basic continental stitch and how to finish off a row of stitches.
How to Begin Stitching
The first thing you will do to begin a row of stitches is a waste knot. A waste knot is simply a knot that you stitch outside of the painted portion of the canvas. To create your knot you are going to insert your threaded and knotted needle into the canvas about a quarter of an inch outside of the pattern. Once you have completed your canvas, you can cut out all of the knots. The best thing about a waste knot is that it creates tension so your stitches can stay in place on the canvas.
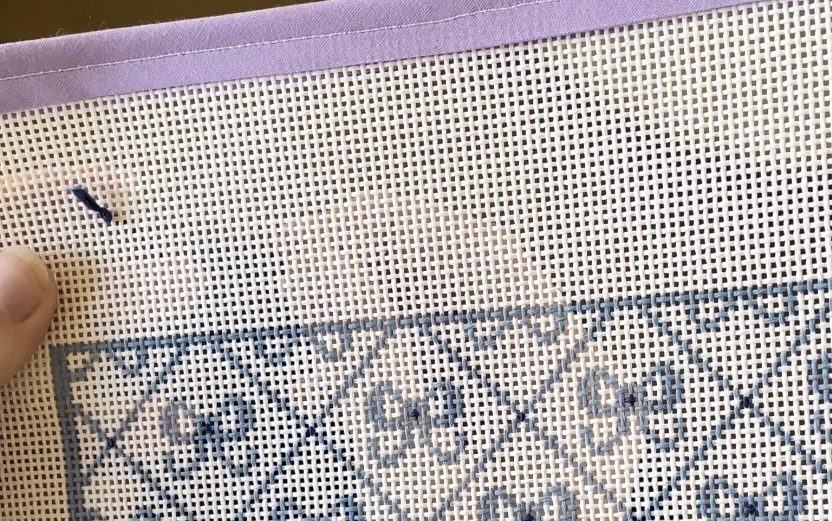
Here is a basic waste knot. Simply insert your threaded and knotted needle into your canvas.
Basic Continental Stitch
When you look at the mesh of your canvas, you will notice that it is essentially a bunch of little boxes. The goal of the continental stitch is to keep a diagonal line going.
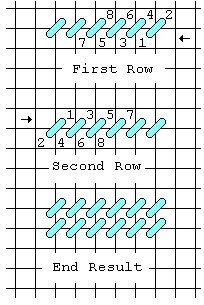
As you can see in this directional photo, you follow a diagonal pattern across the entire painted portion of your canvas. Insert your needle into the canvas and go over one, up one to begin the pattern. Then return to the box next to your initial stitch. Continue, up one and over one.
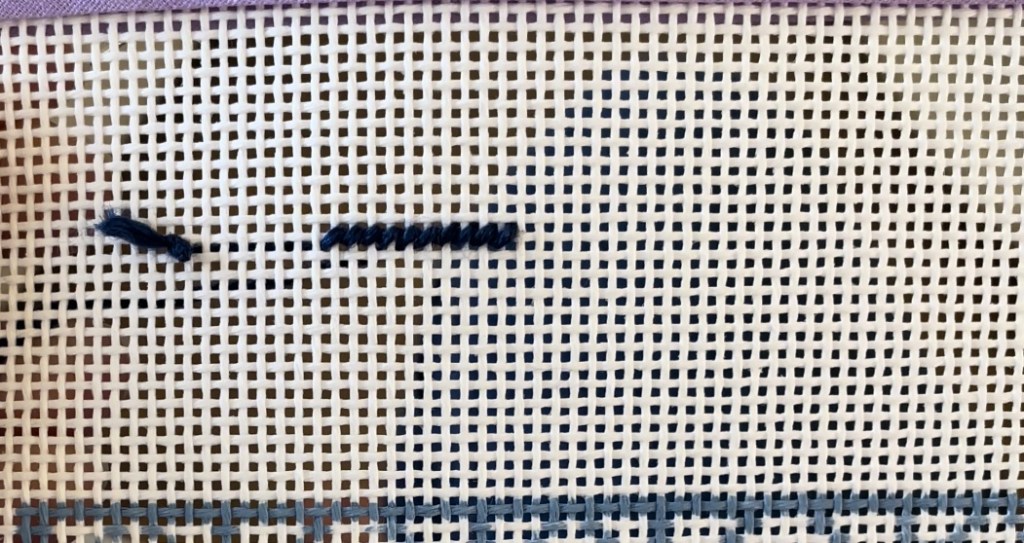
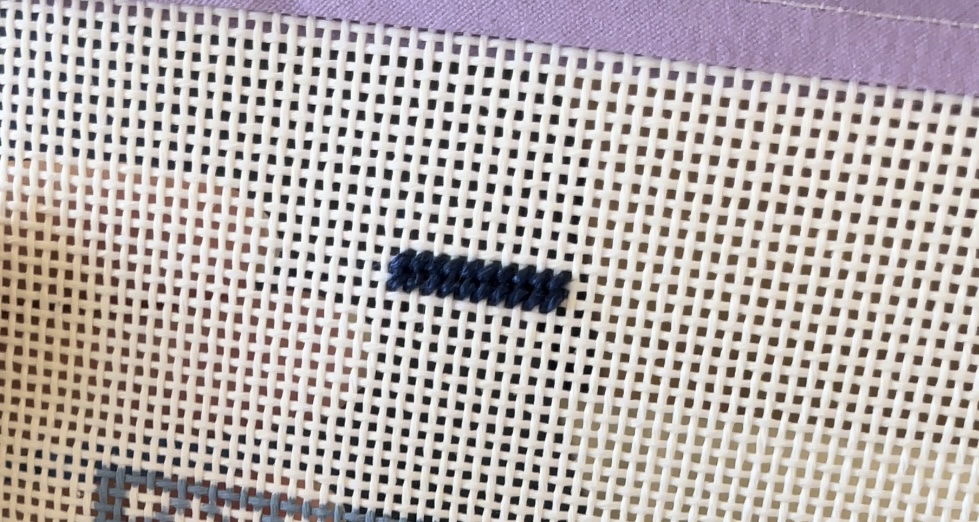
Here is one row of continental stitches.
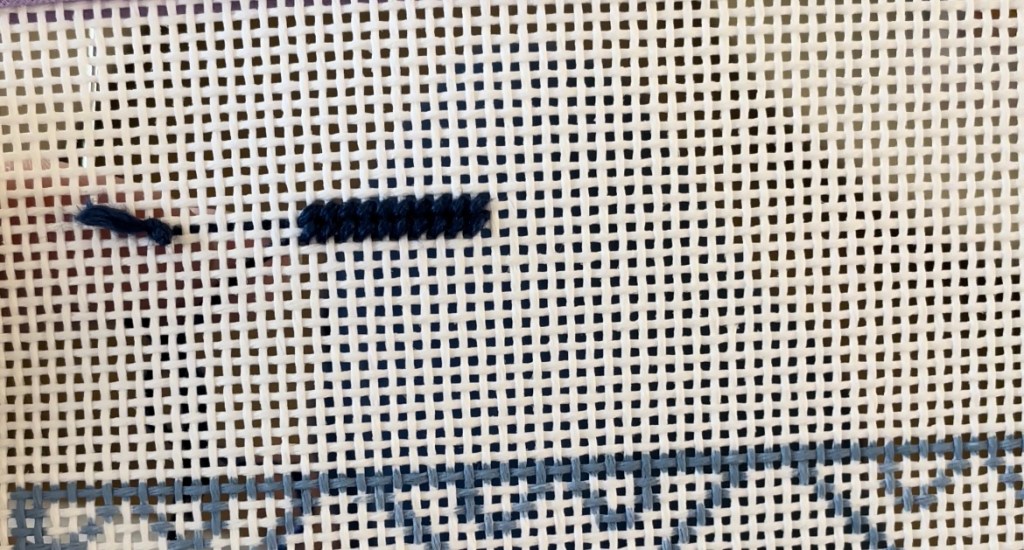
Here is 2 rows of continental stitches.
The continental stitch is one of the most usable stitches as it will work on any canvas and any shape that you are needlepointing. Not all stitches are created equally and this stitch is a really good one!
Finishing Your Row
Once you have come to a small amount of thread, you are going to want to tie off your stitches. In order to do this, you are going to take your needle (still with the thread still attached) and loop your needle through one of the stitches closest to the end of your row.

You will then want to double knot the thread to make sure it stays in place.
This is what your finished product should look like!
That is a super brief overview of a needlepoint continental stitch. I would recommend looking up a video on Youtube, there are some wonderful resources out there! My final installment of this series will be coming shortly and I will be covering how to finish your needlepoint canvas. If you have any questions, let me know below!
